The "Comma", "Openpilot", "ChffrPlus", "EON", "Panda", and "Giraffe" are registered trademarks of Comma.ai, Inc. This website, and it's affiliated links are not endorsed, or supported by Comma.ai, Inc.
Nothing on this website or it's affiliated websites will enable your vehicle to be super-human and drive itself. You must keep your eyes on the road and your hands on the wheel at all times. This documentation is for research purposes only.
Use this information at your own risk.
Comma Pedal: Flashing the Firmware
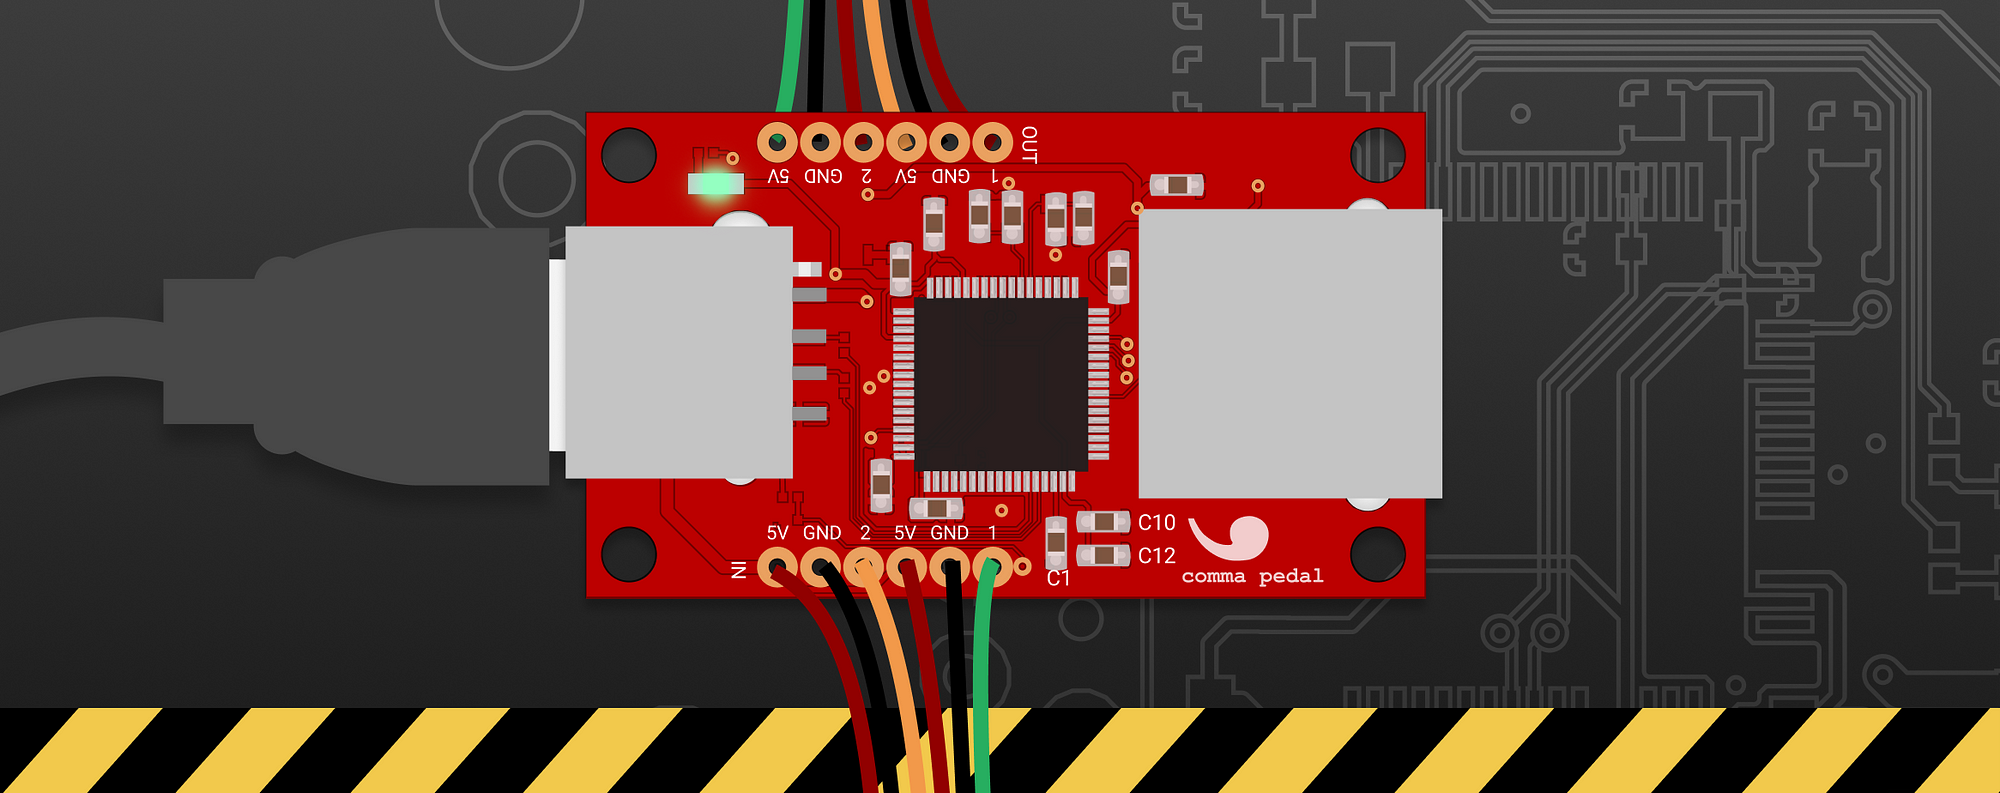
So you just received your Comma Pedal from MacroFab or manufactured it yourself, but have no idea what to do next… well the next step is to get this board in DFU Mode that allows us to flash it with firmware. It’s presently an empty computer with nothing on it. Think of this like installing software on a computer. Right now it doesn’t even have an “operating system” so to speak.
Requirements
- A solid understanding of Terminal, Unix-based environments, Git / GitHub, compiling and installing dependencies, etc. is required for this article. If you don’t feel confident in these things, I’d find your closest computer programming nerd-friend to help.
- This article assumes you’re running Ubuntu Linux, but most of these instructions should apply in other environments too if you‘re so inclined.
- This article also assumes you already have Git installed. Please ensure those things before proceeding.
DISCLAIMER: This is not to be considered official documentation on the Comma Pedal. This is not an official work of Comma, Inc. and is unaffiliated with their company and platform. Proceed at your own risk. Comma, Inc. nor myself warrants this to any degree. Always keep your hands on the wheel and eyes on the road.
Guide
01. Getting Started
Cloning the Panda code repository & install dependencies
$ git clone https://github.com/commaai/panda.git
$ cd panda/board/
$ ./get_sdk.sh
$ cd ../
$ sudo pip install .
$ pip install pandacan
$ sudo apt-get install dfu-util
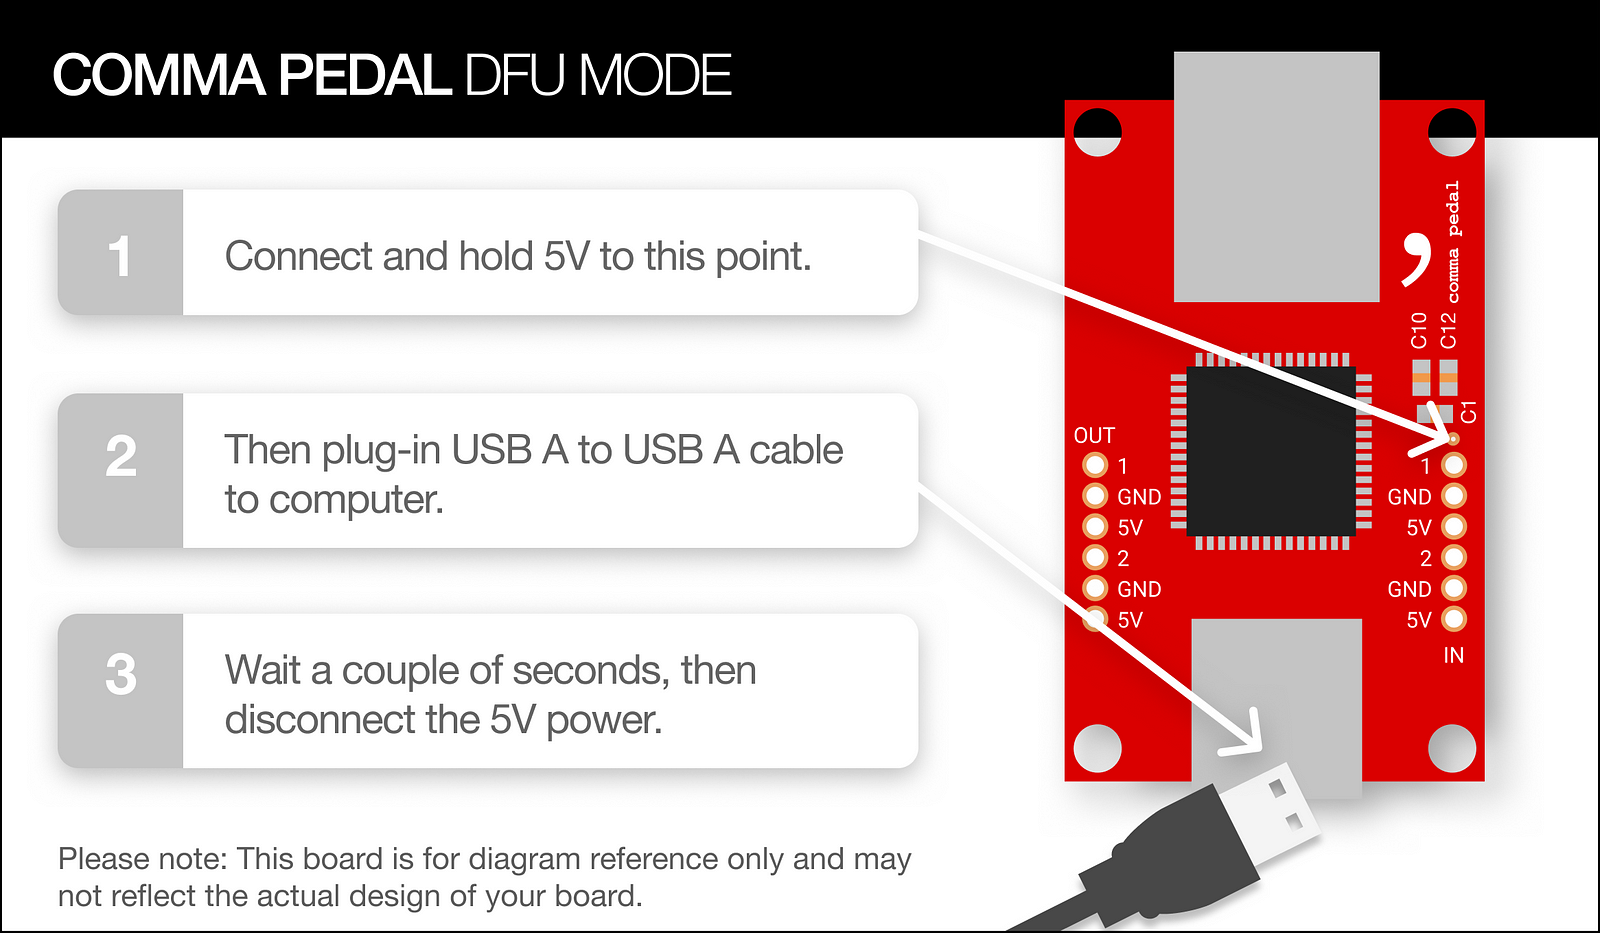
02. Entering DFU Mode on the Pedal Board
There are apparently two ways to enter DFU Mode on this board… one involves having a Panda Paw from https://shop.comma.ai/ and the other is applying voltage to the board itself until it enters the bootloader. This article will be covering the voltage method.
Confirm that your Comma Pedal is connected to your computer by running
$ sudo dfu-util -l
Output of this command should look something like this:
dfu-util 0.8
Copyright 2005-2009 Weston Schmidt, Harald Welte and OpenMoko Inc.
Copyright 2010-2014 Tormod Volden and Stefan Schmidt
This program is Free Software and has ABSOLUTELY NO WARRANTY
Please report bugs to dfu-util@lists.gnumonks.org
Found DFU: [0483:df11] ver=2200, devnum=4, cfg=1, intf=0, alt=3, name="@Device Feature/0xFFFF0000/01*004 e", serial="345D396E3137"
Found DFU: [0483:df11] ver=2200, devnum=4, cfg=1, intf=0, alt=2, name="@OTP Memory /0x1FFF7800/01*512 e,01*016 e", serial="345D396E3137"
Found DFU: [0483:df11] ver=2200, devnum=4, cfg=1, intf=0, alt=1, name="@Option Bytes  /0x1FFFC000/01*016 e", serial="345D396E3137"
Found DFU: [0483:df11] ver=2200, devnum=4, cfg=1, intf=0, alt=0, name="@Internal Flash  /0x08000000/04*016Kg,01*064Kg,07*128Kg", serial="345D396E3137"
0483:df11is the signature for the Comma Pedal so this is correct.
Moving on…
03. Transferring firmware to the board
Now that your board is in DFU Mode, and dependencies are installed, you SHOULD be able to transfer the firmware to the board.
$ cd panda/board/pedal
$ sudo make recover
The result of this command should look similar to below…
../../tests/pedal/enter_canloader.py --recover; sleep 0.5
Traceback (most recent call last):
  File "../../tests/pedal/enter_canloader.py", line 55, in <module>
    p = Panda()
  File "/usr/local/lib/python2.7/dist-packages/panda/__init__.py", line 127, in __init__
    self.connect(claim)
  File "/usr/local/lib/python2.7/dist-packages/panda/__init__.py", line 171, in connect
    assert(self._handle != None)
AssertionError
"dfu-util" -d 0483:df11 -a 0 -s 0x08004000 -D obj/comma.bin
dfu-util 0.8
Copyright 2005-2009 Weston Schmidt, Harald Welte and OpenMoko Inc.
Copyright 2010-2014 Tormod Volden and Stefan Schmidt
This program is Free Software and has ABSOLUTELY NO WARRANTY
Please report bugs to dfu-util@lists.gnumonks.org
dfu-util: Invalid DFU suffix signature
dfu-util: A valid DFU suffix will be required in a future dfu-util release!!!
Opening DFU capable USB device...
ID 0483:df11
Run-time device DFU version 011a
Claiming USB DFU Interface...
Setting Alternate Setting #0 ...
Determining device status: state = dfuERROR, status = 10
dfuERROR, clearing status
Determining device status: state = dfuIDLE, status = 0
dfuIDLE, continuing
DFU mode device DFU version 011a
Device returned transfer size 2048
DfuSe interface name: "Internal Flash  "
Downloading to address = 0x08004000, size = 17120
Download [=========================] 100%        17120 bytes
Download done.
File downloaded successfully
"dfu-util" -d 0483:df11 -a 0 -s 0x08000000:leave -D obj/bootstub.bin
dfu-util 0.8
Copyright 2005-2009 Weston Schmidt, Harald Welte and OpenMoko Inc.
Copyright 2010-2014 Tormod Volden and Stefan Schmidt
This program is Free Software and has ABSOLUTELY NO WARRANTY
Please report bugs to dfu-util@lists.gnumonks.org
dfu-util: Invalid DFU suffix signature
dfu-util: A valid DFU suffix will be required in a future dfu-util release!!!
Opening DFU capable USB device...
ID 0483:df11
Run-time device DFU version 011a
Claiming USB DFU Interface...
Setting Alternate Setting #0 ...
Determining device status: state = dfuIDLE, status = 0
dfuIDLE, continuing
DFU mode device DFU version 011a
Device returned transfer size 2048
DfuSe interface name: "Internal Flash  "
Downloading to address = 0x08000000, size = 12332
Download [=========================] 100%        12332 bytes
Download done.
File downloaded successfully
Transitioning to dfuMANIFEST state
I believe you can ignore the error in this as well as the Invalid DFU suffix signature warnings.
When you’re finished you should be seeing a flashing green LED if your board has this.
If Successful, the Pedal LED should be flashing Green.
You may now unplug the pedal from USB.
Enjoy!